Create an Online Poll in Minutes: A Beginner's Step-by-Step Guide

Online polls are a fantastic way to gather opinions, engage your audience, and make data-driven decisions. Whether you're a business owner, educator, or content creator, learning how to create a poll quickly can save time and boost interaction.
In this guide, we’ll walk you through the easiest way to create an online poll—even if you’re a complete beginner. By the end, you’ll know how to design, share, and analyze polls effortlessly.
Why Create a Poll?
Before diving into the steps, let’s explore why online polls are so useful:

Instant Feedback: Quickly gather opinions from customers, students, or followers.Engagement Boost: Interactive polls increase audience participation.Data-Driven Decisions: Use poll results to refine products, services, or content.Time & Cost-Efficient: No paper forms or manual counting needed.
What You Need to Get Started
Before you build your first poll, here are a few things to decide:
Step-by-Step Guide to Create a Poll
Step 1: Choose the Right Poll Creation Tool
Not all poll tools are created equal. You need a platform that’s:
User-friendly: No coding or design skills required.Customizable: Matches your brand’s look and feel.Responsive: Works on mobile and desktop.Analytics-ready: Tracks responses in real time.
Our Recommendation: HeyForm (Free & Open-Source)

Why HeyForm?
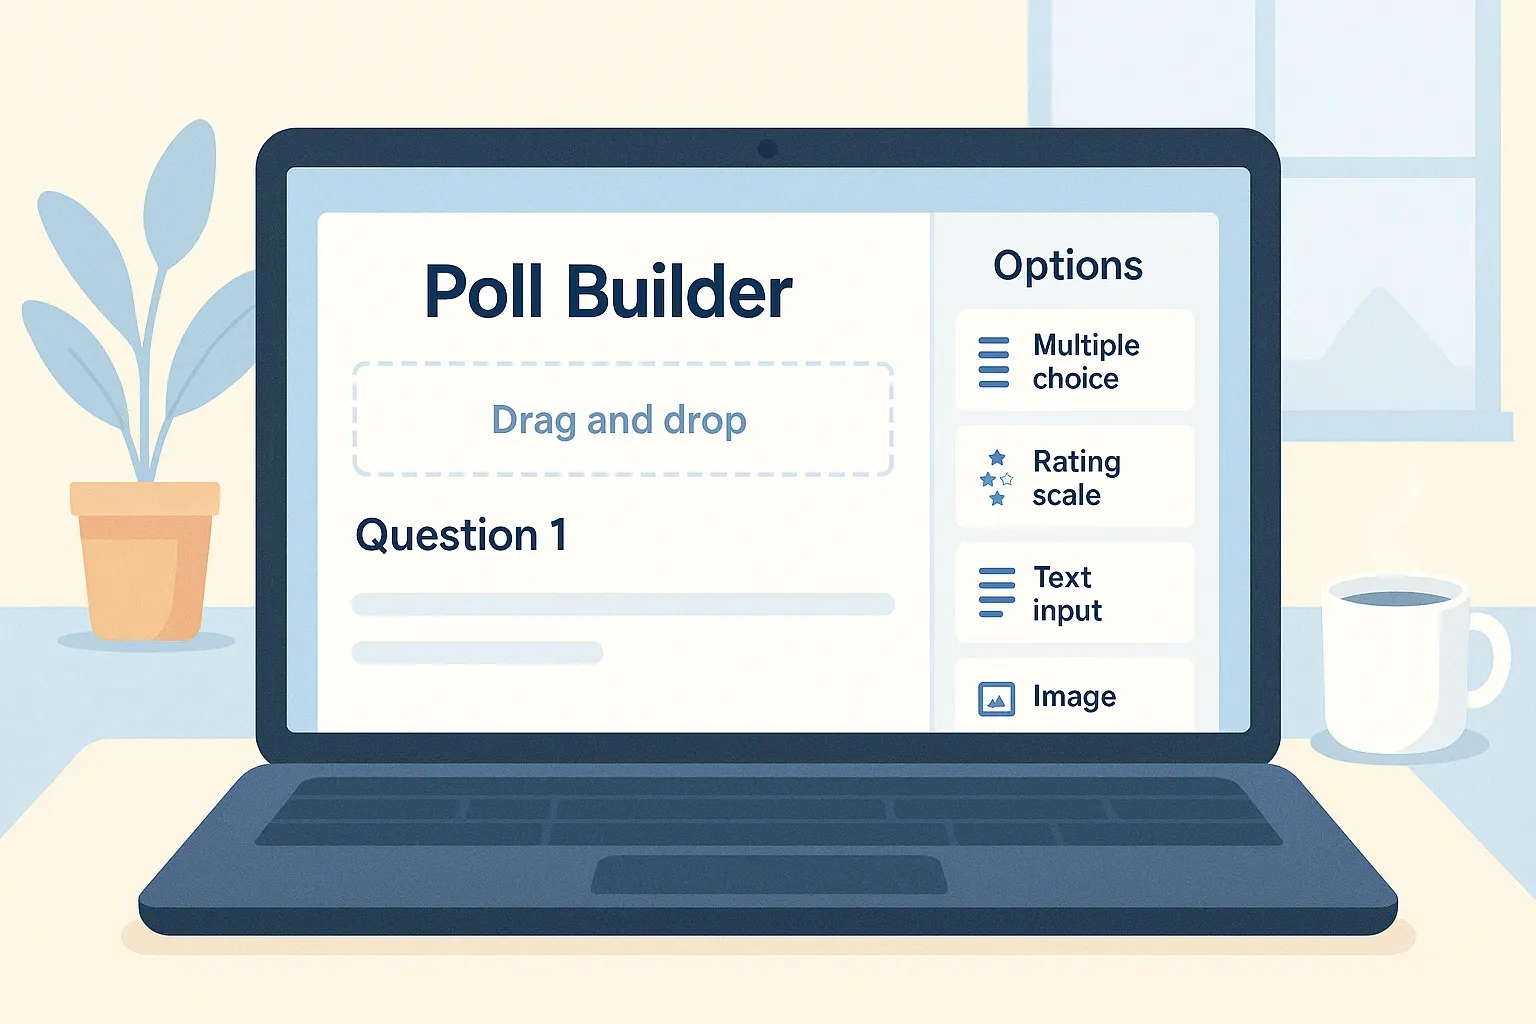
- Drag-and-drop editor – Easy for beginners.
- Pre-made templates – Get started in seconds.
- Real-time analytics – See responses instantly.
- Integrations – Sync with Google Sheets, Slack, and more.
Step 2: Set Up Your Poll
Once you’ve picked your tool, follow these steps:
A. Sign Up & Select a Template
- Go to HeyForm and create a free account.
- Choose a poll template (e.g., "Quick Survey," "Customer Feedback").
B. Customize Your Poll
- Add Questions – Keep them short and clear.
- Brand It – Add your logo, colors, and fonts.
- Enable Multiple Responses (if needed).
Step 3: Configure Poll Settings
Before publishing, adjust these settings:
- Response Limit – Prevent duplicate submissions.
- Deadline – Set an end date for your poll.
- Privacy Controls – Make responses anonymous if needed.
Pro Tip: Use conditional logic to display follow-up questions based on user responses.
Step 4: Share Your Poll
Now, it’s time to get responses! Here’s how to share your poll effectively:
Best Sharing Methods
Example:
- Businesses – Share on Instagram Stories.
- Teachers – Email the poll to students.
- Marketers – Embed it in a blog post.

Step 5: Analyze Poll Results
The real power of polls lies in data analysis. Here’s how to interpret responses:
Key Metrics to Track
- Response Rate – How many people participated?
- Popular Choices – Which option got the most votes?
- Trends Over Time – Did opinions shift?
HeyForm’s Analytics Dashboard lets you:
- Export data to Google Sheets or Excel.
- Filter responses by date or demographics.
- Generate visual charts for presentations.

Benefits of Using Form Builder to Create Polls
Best Practices When Creating Polls
To make the most out of your polls:
- Keep it short: 1–3 questions max for best completion rates
- Use clear language: Avoid jargon or ambiguity
- Offer an incentive (optional): Gift cards, shoutouts, or discount codes
- Preview your poll: Always test it before sending it live
Also, let respondents know how their feedback will be used. Transparency builds trust.
Final Thoughts
Creating an online poll doesn’t have to be complicated. With tools like HeyForm, even beginners can create beautifully designed, functional polls in just minutes.
Whether you're gathering customer insights, sparking community discussions, or simply having fun, polls are a smart and simple way to listen to your audience.
Ready to Create Your First Poll?
Head over to HeyForm.net and start building your first poll today — no coding, no clutter, just clean and fast feedback collection.
